EC2 is the service where you can create servers and instances to launch your websites or applications.
EC2 is Amazon Web Services IaaS offering and it is a service for running virtual machines in the AWS cloud.
The instances will be charged per hour different rates based on the type choice of instances. AWS provides multiple instances types for the respective business needs of the users.
In this blog, you will learn :-
- Sign Up AWS Console
- Login and access to AWS services
- Choose AMI
- Choose Instance Types
- Configure Instance
- Add Storage
- Add Tags
- Configure Security Groups
- Review Instance Launch
Step 1
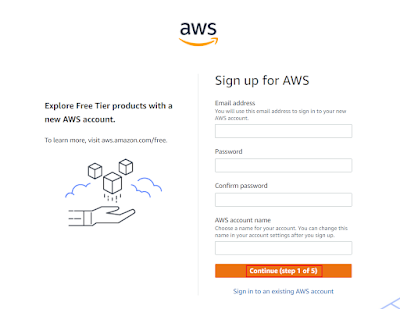
First of all you can go to AWS Console, access using this URL: https://aws.amazon.com/console/ and you are click the Create an AWS Account button.”
Step 2
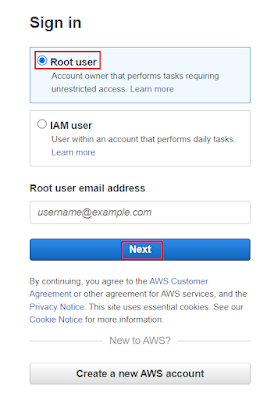
After you can click Root user than enter username or email and type of your password than click on sign in button.
Step 3
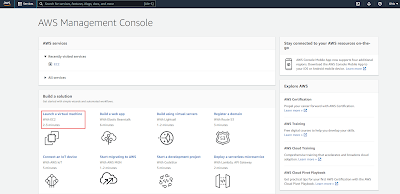
AWS Management Console page is open than after click to EC2 instance.
Step 4
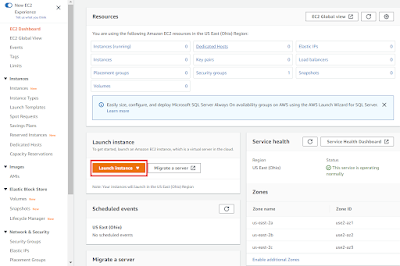
EC2 instance page is open after click to Launch Instance.
Step 5
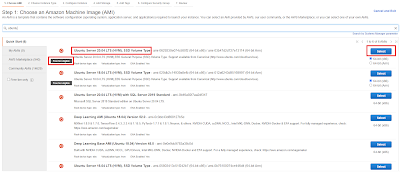
After you can click Choose Amazon Machine Image than click to select button.
Step 6
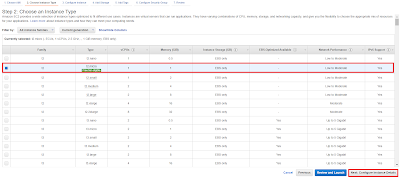
After select the EC2 instance type from the list, for this example, I’m going to use t2.micro, select and the next button to click.
Step 7
After next page is open some options to set up your instance. For that the Auto-assign Public IP it’s set to enable than click to next button.
Step 8
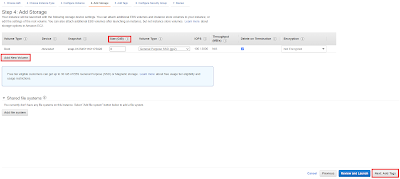
Now Add storage page is open. you can choose the amount of GB that your hard drive it’s going to have. After click to next.
After Next page is Add Tags. Tags page in name and on the value type the name that you want to give to your instance and click to Next Button.
Step 9
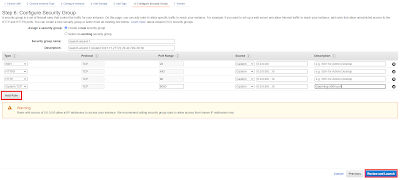
Next Page is a Security Group. A Security group it’s like the firewall for your instance. Here you have to open some ports. ex- web server you need to open the port 80 if you want ssh access you need the port 22.
Step 10
Select the Key pair name and download key pair .pem file. After click to Launch Instance button
If everything goes well you are going to see the next screen, click on the id to view it on the dashboard. This page in show Instance State show Running or Stopped
After Public IP through you can access putty in add private key and you can access AWS instance server.
More Details :-
AWS EC2 public IP to putty connection
Other AWS Web Services






0 Comments