Prerequisites
This step is requirements in configure time printer management:
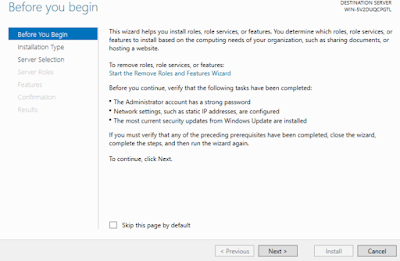
- Administrator password must be strong.
- Static IP is configured and windows updates are installed.
- Hardware and Software firewall are turned off.
Installing the Print Server step by step :-
1) Open the server manager and Click on the Add roles and features.
2)Click on Next.
3) Choose Role-based or feature-based installation and click on Next.
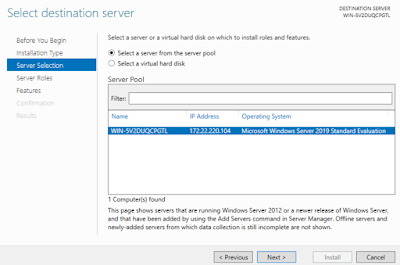
4) Choose the destination printer server for this configuration and click on Next.
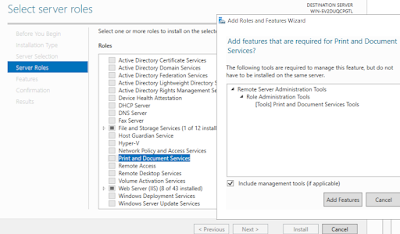
5) Choose the Print and document services from server roles and when a new window appear, click on Add Features.
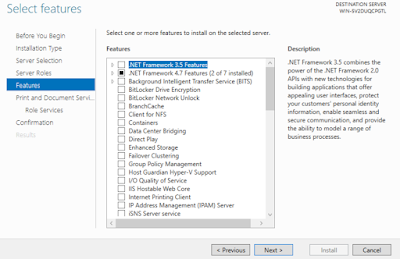
6) Click on Next.
7) Click on Next.
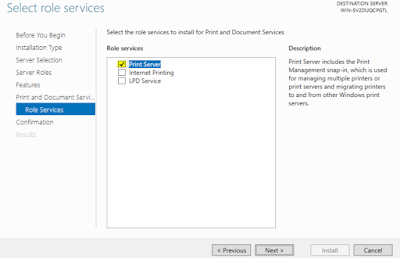
8) Choose Print Server and click on Next.
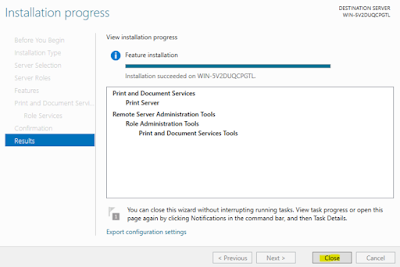
9) Click on Install.
10) After installation click to Close button.
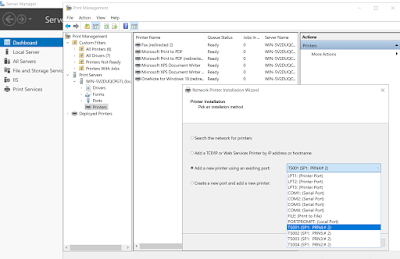
12) Choose the your printer manufacture name and printer model number select.
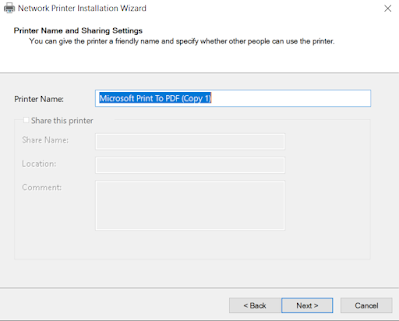
13) Rename the printer name and select the share printer button.









0 Comments