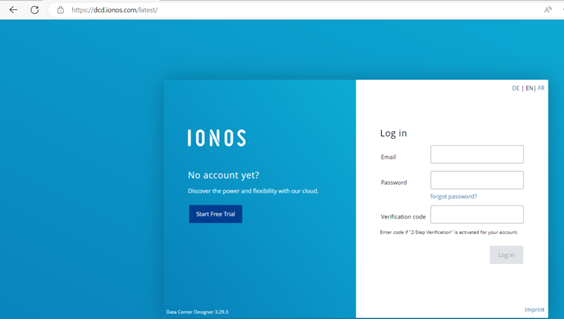
Use Official link & use authorized credentials to loginhttps://dcd.ionos.com/latest/
Refer Basic tutorial link to Design & manage virtual machines on IONOS DCD in detail https://docs.ionos.com/cloud/getting-started/tutorials
Follow below steps to design & manage virtual machines on IONOS DCD:
In Client’s IONOS DCD Account we are now discussing test data center which are created for Production Application purpose.
Creating a new VDC (Virtual data center)
Create a Server
1. Drag the Server element from the Palette into the Workspace.
2. To configure your Server, enter the following details in the Settings tab of the Inspector pane:
- Name: Enter a server name unique to the VDC.
- Availability Zone: Select a zone from the drop-down list to host the server on the chosen zone.
- CPU Architecture: Choose between AMD or Intel cores.
- Cores: Choose the number of CPU cores.
- RAM: Choose any size starting from 0.25 GB to the maximum
- limit allotted to you. The size can be increased or reduced in steps of 0.25 GB.
Add storage to the server
1. Drag a Storage element from the Palette onto a Server in the Workspace.
2. To configure your Storage element, enter the following details in the Inspector pane:
- Name: Enter a storage name unique to the VDC.
- Availability Zone: Select a zone from the drop-down list to host the storage element associated with the server.
- Size in GB: Choose the required storage capacity.
- Performance: Select a value from the drop-down list based on the requirement. You can either select Premium or Standard, and the performance of your storage element varies accordingly.
- Image: Select an image from the drop-down list. You can select one of IONOS images or choose your own.
- Password: Enter a password for the chosen image on the server—a root or an administrator password.
- Backup Unit: Select a backup unit from the drop-down list. Click Create Backup Unit to instantly create a new backup unit if unavailable.
Server Configuration Step by Step
Step1: After creating a data center for the infrastructure by using a drag-and-drop visual interface all resources are selected as per the requirement.
Step2: Firstly drag and drop the internet connection. When connected to LAN it will provide the access the internet.
Step3: Selecting Server & select to add settings tab (As per your requirement select the RAM and SSD storage)
Step4: Select server Data option, select IONOS images, add Ubuntu 22.04 image & select SSH key (create/existing SSH key)
Step5: Adding SSH Key& Upload Public key in ADD Key and check Default & save key.
Step6: select the Network option under interfaces. Then we can add the some ingress & egress firewall rules.
Step7: Firewall in a select as per requirement port and VNC port open. SSH accessed is only enabled with our office IP. Then click to Save button.
Step8: All configurations are completed on the IONOS server. Internet access connects with server and automatic assigned the LAN1 interface.
After click on the provision changes button. After you can accessed the server using Putty.
This Server is most of using of production server. Same configuration available in cube server. it is using for development server and production server.


0 Comments