Jenkins is open source automation server. Jenkins is most popular tools CI and CD integration tools. Any application and software deploy on the Jenkins server.
In this blog we will show you step by step Jenkins installation on windows platform.
Software Requirements:
Jenkins in need latest version of Java Development Kit (JDK 8) or Java Runtime Environment (JRE).
Prerequisites
256 MB of RAM
1 GB of drive space
Recommended hardware configuration for a team:
2 GB+ of RAM
40 GB+ of drive space
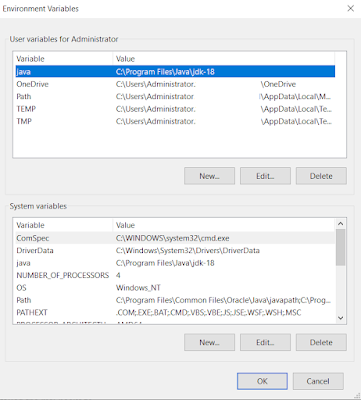
Set the Path for the Environmental Variable for JDK
Go to windows in search environment variable in set java path
Windows in go to https://www.jenkins.io/download/ download the Jenkins msi package.
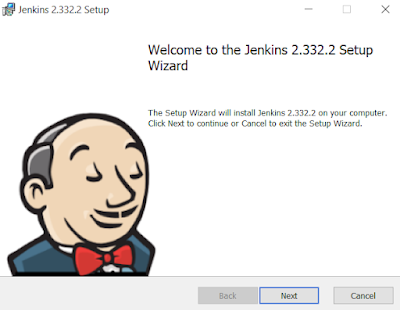
- Go to the download folder installed the msi package.
- Once download Jenkins after click on the next tab.
- Select the Jenkins installation folder. By default C drive in save Jenkins folder.
- Type the domain username and password after click on the next tab.
- Type the Jenkins localhost port number. By default port number is 8080. Clock on the next tab.
- Select the Program files in Java jdk folder location. Click on the next button.
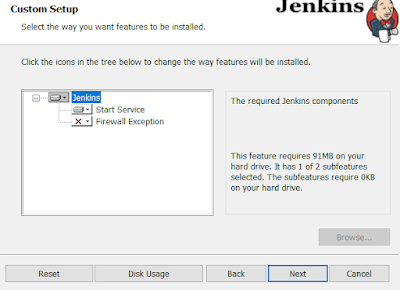
- Click on the Next tab.
- Click on the Jenkins install tab.
- Jenkins open the Administrator initial password location and set the Jenkins administrator password.
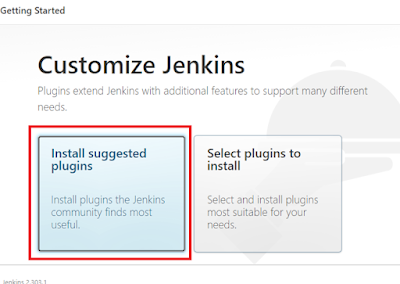
- Jenkins in select the customize plugin or Suggested selected plugin.
- After started the the installation of plugin. Start the process.
- Jenkins start of Instance configuration URL http://localhost:8080 . Click on the Save and Finish button.
After browser in Open http://localhost:8080 This Jenkins URL.










0 Comments