Linux system administrator must probably working with SSH on a regular basis.
SSH protocol used for operate remotely login server and commands on machines over local or remote networks connect directly.
SSH protocol through secure connection between a client and a server data encryption.and also securely transfer files via scp and sftp.
Enabling SSH on Ubuntu
By default Ubuntu in not installed ssh and remote access via SSH is not allowed.
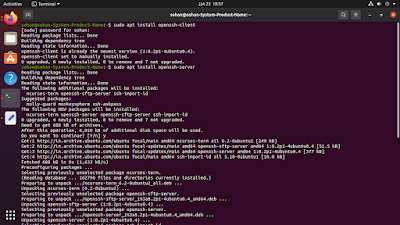
Open the terminal with Ctrl+Alt+T and install the openssh-server package:
sudo apt update
sudo apt install openssh-server
sudo apt install openssh-client
Once the installation is complete, the SSH will start automatically. You can verify status of SSH :
sudo systemctl status ssh
netstat -tulpn | grep 22^
Ubuntu firewall UFW in enabled or open the SSH port.
sudo ufw allow ssh
sudo ufw status
Changing SSH default port
sudo nano /etc/ssh/ssh_config
Linux and macOS in systems have SSH clients installed by default. To Windows machine in we have used PuTTY through SSH connect .
Connecting to the SSH Server
ssh username@ip_address
ip address
Once you have found the IP address after log in to remote machine by running below ssh command:
ssh sohan@192.168.0.106
Disabling SSH on Ubuntu
To disable the SSH server on your Ubuntu system, simply stop the SSH service by running:
sudo systemctl disable --now ssh
Later, to re-enable it, type:
sudo systemctl enable --now ssh


0 Comments