Step 1:- Start Server Manager
Windows Server Manager in click to Manage in add roles and features to add new role.
Step 2:- Click to Next Wizard
Add Roles and Features Wizard in click to “Next“ button.
Step 3:- Select on Installation Type
Select Installation type page in click to “Next“ button.
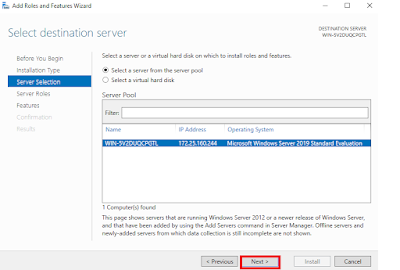
Step 4:- Choose the Destination Server
Select the server in install NFS on click to “Next“ button.
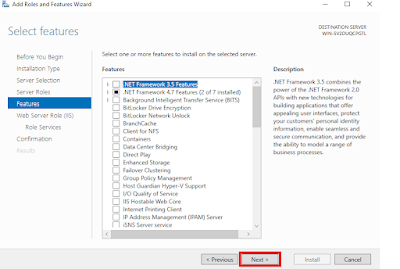
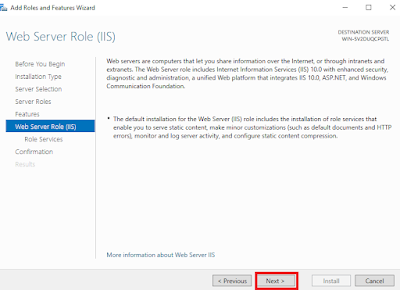
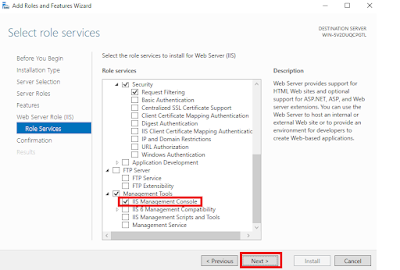
Step 5:- Select Roles to install
Select server roles in check the “WebServer(IIS)” box then a pop-up window will come up after click to add features after click to next.
Step 6:- Confirm Selections
Confirm installation selections page in click to Install button after finish it and click to close button.
Step 7:- Browser in type http://localhost and open it IIS Web Server.
Finally install IIS Web Server Configuration on Windows Server 2019.







0 Comments